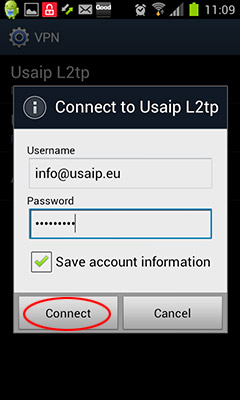
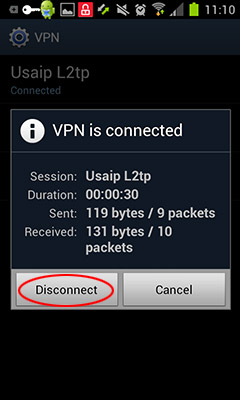
How to set up L2TP / IPSEC PSK VPN Android 4.x  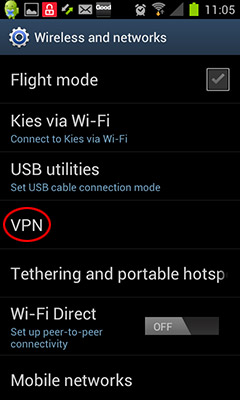 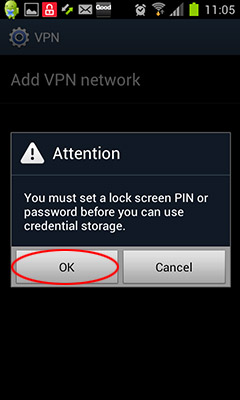 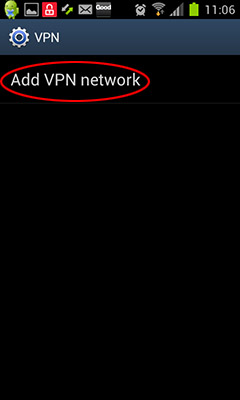 Select L2TP / IPSEC PSK for the VPN type and use a name that is easy to remember. The server address is the IP address or the name of the VPN server. You may have received the valid server names in an email from us and it is available in your web account when you log in. Customers in China are required to use IP addresses instead of names in this field. The IPSec pre-shared key is usaip It is important to know that if you use multiple devices to connect to our VPN service and use L2TP / IPSEC PSK , you must connect to a different VPN server from each device. Even if you are not connected to the VPN from one device, the others will not be able to connect to the same VPN server with L2TP / IPSEC . This is an inherent limitation of IPSEC. (You will be able to connect to the same VPN server using PPTP however, given that you logged out with the other device) 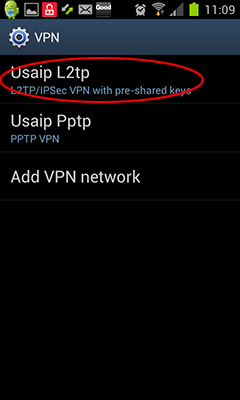 Tap "Connect" 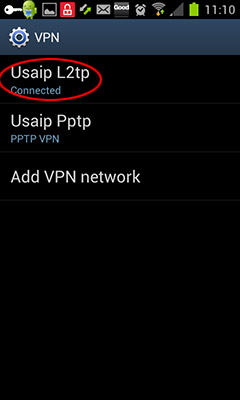 Tap "Disconnect" to disconnect |